Mastering the Art of Timeline Presentations with Google Slides
Timeline presentations are a powerful tool for visualizing and organizing information in a chronological order. They are commonly used in various fields such as history, project management, and marketing to showcase the progression of events or milestones. Creating an effective timeline presentation requires a user-friendly and versatile platform, and Google Slides fits the bill perfectly.
Google Slides is a web-based presentation software that allows users to create, edit, and share presentations online. It offers a wide range of features and templates that make it ideal for creating timeline presentations. In this article, we will explore the advantages of using timeline template google slides, how to get started with the tool, tips for designing an effective presentation, adding interactive elements, delivering a compelling presentation, collaborating with others, and integrating other tools for enhanced functionality.
The Advantages of Using Google Slides for Timeline Presentations
1. Cost-effective: One of the biggest advantages of using Google Slides is that it is completely free to use. Unlike other presentation software that requires a paid subscription or one-time purchase, Google Slides allows users to create and edit presentations without any cost. This makes it an attractive option for individuals and organizations with limited budgets.
2. Easy to use: Google Slides has a user-friendly interface that is easy to navigate even for beginners. The drag-and-drop functionality makes it simple to add and rearrange elements on the slides. Additionally, the platform offers a wide range of pre-designed templates that can be customized according to your needs. This makes it quick and easy to create professional-looking timeline presentations.
3. Accessible from anywhere: Since Google Slides is a web-based tool, you can access your presentations from any device with an internet connection. This means you can work on your timeline presentation from your computer at home, your tablet on the go, or even collaborate with others in real-time from different locations. The ability to access your presentations from anywhere adds convenience and flexibility to the creation process.
4. Collaborative features: Google Slides allows multiple users to collaborate on a presentation simultaneously. This is particularly useful when working on timeline presentations with a team or when seeking feedback from others. Users can edit the presentation in real-time, leave comments, and suggest changes. This collaborative feature streamlines the workflow and ensures that everyone is on the same page.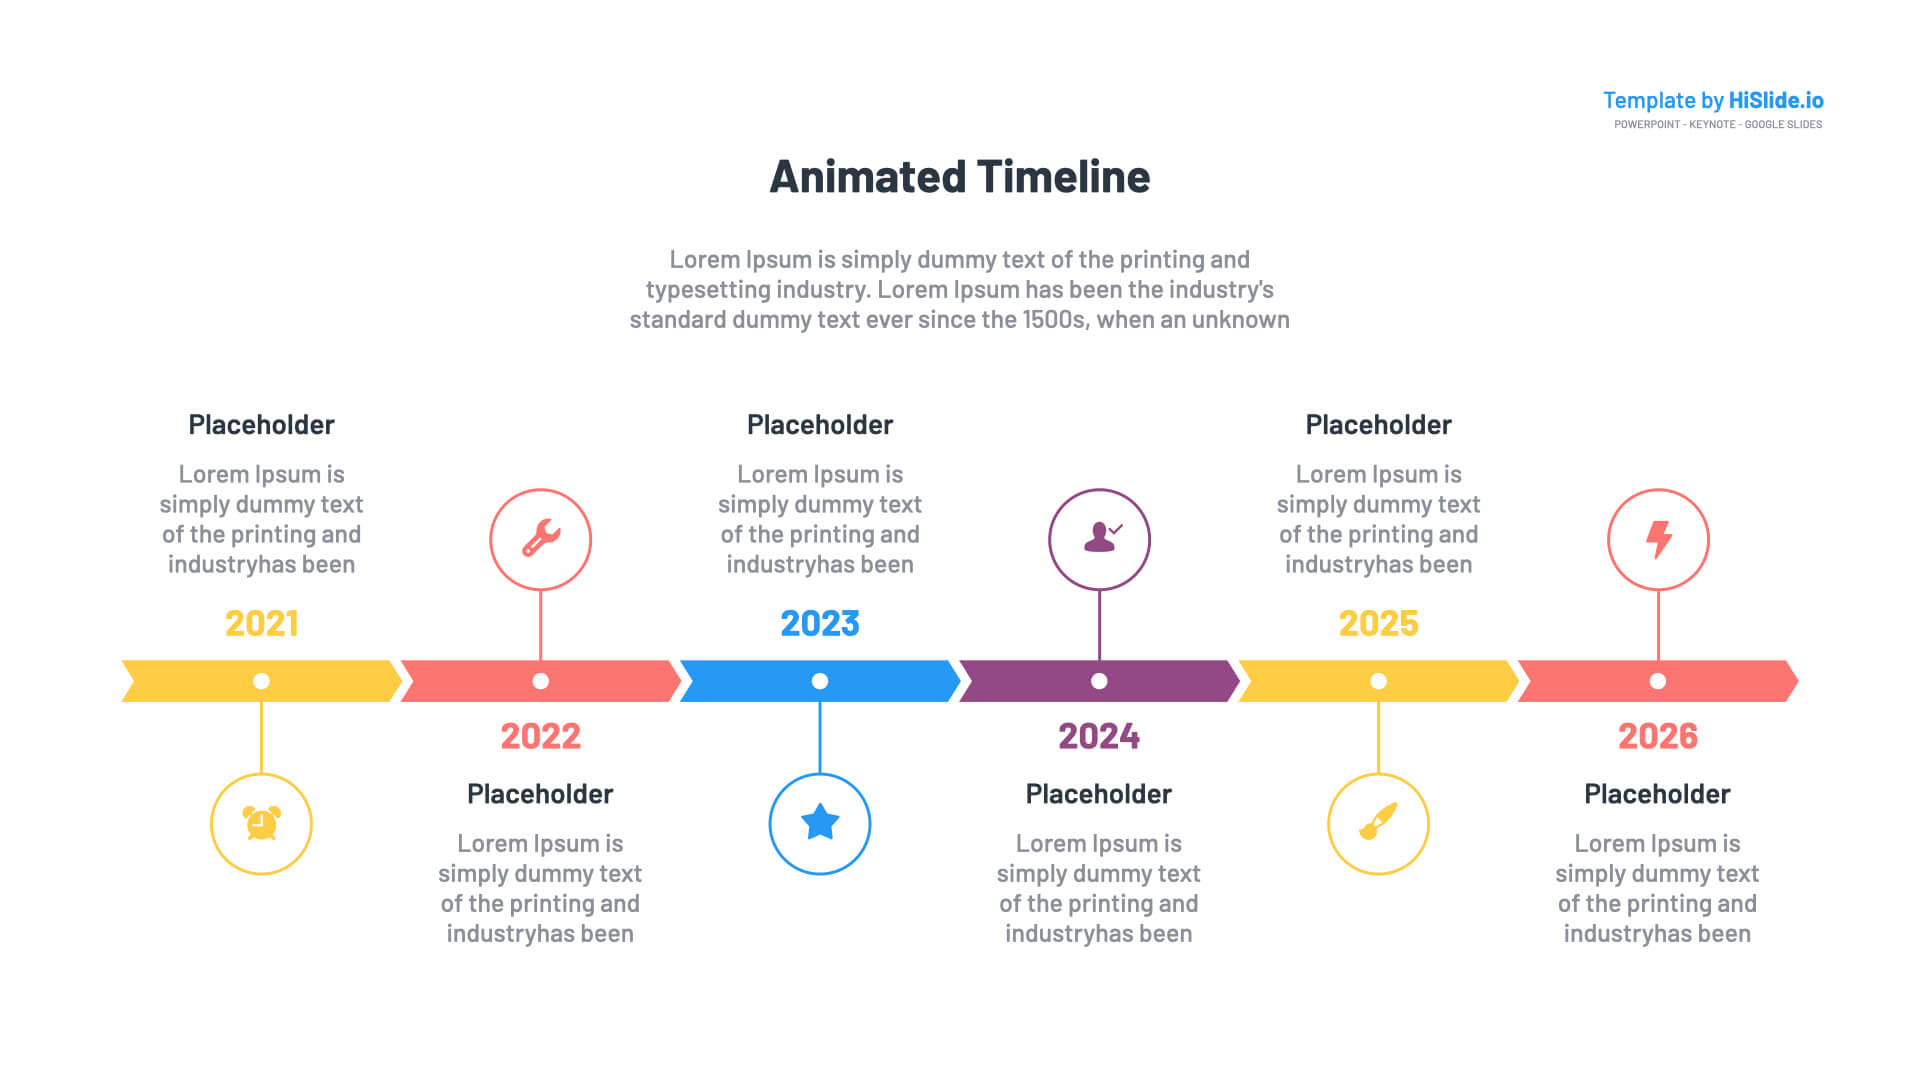
5. Integration with other Google tools: Google Slides seamlessly integrates with other Google tools such as Google Drive, Google Sheets, and Google Forms. This integration allows you to easily import data from Google Sheets for data visualization, embed Google Forms for collecting feedback, and add Google Maps for location-based timelines. The ability to integrate these tools enhances the functionality of your timeline presentation and allows for a more comprehensive and interactive experience.
Getting Started with Google Slides for Timeline Presentations
1. Creating a Google account: To get started with Google Slides, you will need a Google account. If you don't already have one, you can create a new account for free by visiting the Google homepage and clicking on "Create account." Follow the prompts to set up your account.
2. Accessing Google Slides: Once you have a Google account, you can access Google Slides by visiting slides.google.com or by clicking on the "Google Apps" icon (represented by nine small squares) in the top right corner of any Google page and selecting "Slides" from the dropdown menu.
3. Overview of the interface: When you open Google Slides, you will be greeted with a blank presentation. The interface consists of a toolbar at the top, a slide navigator on the left, and the main slide area in the center. The toolbar contains various options for formatting text, adding elements, and customizing your presentation. The slide navigator allows you to easily navigate between slides and rearrange their order.
Creating a Timeline Presentation from Scratch on Google Slides
1. Choosing a template: Google Slides offers a wide range of pre-designed templates that can be used as a starting point for your timeline presentation. To choose a template, click on the "Template gallery" button in the toolbar. Browse through the available options and select the one that best suits your needs. Once you have selected a template, it will be applied to your presentation and you can start customizing it.
2. Adding and formatting text: To add text to your timeline presentation, click on the "Text box" button in the toolbar and click anywhere on the slide to insert a text box. Type or paste your text into the text box and use the formatting options in the toolbar to customize the font, size, color, and alignment of the text. You can also add bullet points, numbered lists, and change the indentation of the text.
3. Inserting images and videos: To insert images or videos into your timeline presentation, click on the "Insert" button in the toolbar and select either "Image" or "Video" from the dropdown menu. You can upload an image or video from your computer, search for images or videos online, or choose from your Google Drive. Once inserted, you can resize, crop, and position the image or video on the slide.
4. Adding shapes and lines: To add shapes or lines to your timeline presentation, click on the "Shape" button in the toolbar and select the desired shape or line from the dropdown menu. Click and drag on the slide to draw the shape or line. You can customize the color, size, and style of the shape or line using the formatting options in the toolbar.
Designing an Effective Timeline Presentation on Google Slides
1. Choosing a color scheme: The color scheme of your timeline presentation plays a crucial role in its overall design and visual appeal. Choose colors that are visually pleasing and complement each other. You can use the color picker tool in the toolbar to select custom colors or choose from the pre-defined color palettes. Consistency is key, so try to stick to a limited color palette throughout your presentation.
2. Selecting fonts: The choice of fonts can greatly impact the readability and aesthetics of your timeline presentation. Google Slides offers a wide range of fonts to choose from. Select fonts that are easy to read and appropriate for the content of your presentation. Avoid using too many different fonts as it can make your presentation look cluttered and unprofessional.
3. Using visual aids: Visual aids such as icons, images, and charts can help convey information more effectively and engage your audience. Google Slides offers a library of icons that you can easily insert into your presentation. You can also create charts and graphs using the "Insert" menu and selecting "Chart." Use visual aids sparingly and strategically to enhance the content of your timeline presentation.
4. Creating a consistent layout: Consistency in layout is important for creating a cohesive and professional-looking timeline presentation. Use the slide master feature in Google Slides to define a consistent layout for all slides in your presentation. This includes elements such as headers, footers, background colors, and fonts. By setting up a slide master, you can ensure that all slides have a consistent look and feel.
Adding Interactive Elements to Your Timeline Presentation on Google Slides
1. Adding hyperlinks: Hyperlinks can be used to link to external websites, documents, or other slides within your presentation. To add a hyperlink, select the text or object you want to link and click on the "Insert" menu in the toolbar. Select "Link" from the dropdown menu and enter the URL or select the slide you want to link to.
2. Creating clickable buttons: Buttons can be used to navigate between slides or trigger specific actions within your timeline presentation. To create a clickable button, insert a shape or image and add a hyperlink to it as described above. You can customize the appearance of the button using the formatting options in the toolbar.
3. Embedding videos: You can embed videos from YouTube or Google Drive directly into your timeline presentation. To embed a video, click on the "Insert" menu in the toolbar and select "Video." Choose the source of the video (YouTube or Google Drive) and enter the URL or search for the video you want to embed. Once inserted, you can resize and position the video on the slide.
4. Using animations and transitions: Animations and transitions can add visual interest and enhance the flow of your timeline presentation. Google Slides offers a variety of animation and transition effects that you can apply to individual elements or entire slides. To add an animation or transition, select the element or slide you want to animate and click on the "Animations" menu in the toolbar. Choose the desired effect from the dropdown menu.
Tips for Delivering a Compelling Timeline Presentation on Google Slides
1. Practicing your delivery: Before presenting your timeline presentation, make sure to practice your delivery multiple times. Familiarize yourself with the content, timing, and transitions. Practice speaking clearly and confidently, and use visual aids to support your points. Rehearsing your presentation will help you feel more comfortable and confident during the actual presentation.
2. Engaging your audience: Keep your audience engaged throughout your timeline presentation by asking questions, encouraging participation, and using interactive elements such as polls or quizzes. Use storytelling techniques to make your presentation more relatable and memorable. Incorporate real-life examples, anecdotes, or case studies to illustrate your points.
3. Using storytelling techniques: Storytelling is a powerful tool for capturing and maintaining your audience's attention. Structure your timeline presentation as a narrative with a clear beginning, middle, and end. Use storytelling techniques such as setting the stage, introducing characters, and building suspense to create a compelling and memorable presentation.
4. Incorporating humor: Adding humor to your timeline presentation can help break the ice, lighten the mood, and make your presentation more enjoyable. Use appropriate jokes, anecdotes, or funny visuals to inject humor into your presentation. However, be mindful of your audience and ensure that the humor is relevant and in good taste.
Collaborating on Timeline Presentations with Google Slides
1. Sharing your presentation with others: To share your timeline presentation with others, click on the "Share" button in the top right corner of the Google Slides interface. Enter the email addresses of the people you want to share the presentation with and choose their level of access (view, comment, or edit). You can also generate a shareable link that can be sent to others.
2. Collaborating in real-time: When you share your timeline presentation with others, they can collaborate with you in real-time. This means that multiple users can edit the presentation simultaneously, making it easy to work on the same project with a team. Changes made by each user are automatically saved and synced in real-time.
3. Adding comments and suggestions: Google Slides allows users to leave comments and suggestions on specific slides or elements within a presentation. This feature is particularly useful when seeking feedback or input from others. Users can highlight a specific area of the slide and leave a comment or suggestion for improvement. This collaborative feature streamlines the feedback process and ensures that everyone's input is taken into account.
Integrating Other Tools with Google Slides for Timeline Presentations
1. Using Google Sheets for data visualization: Google Sheets is a powerful tool for creating and analyzing data. You can import data from Google Sheets directly into your timeline presentation to create charts, graphs, or tables. This integration allows you to visualize data in a more engaging and interactive way.
2. Embedding Google Forms for feedback: Google Forms is a tool for creating surveys, quizzes, and feedback forms. You can embed a Google Form directly into your timeline presentation to collect feedback or gather information from your audience. This integration makes it easy to gather feedback and engage your audience during the presentation.
3. Adding Google Maps for location-based timelines: If your timeline presentation involves location-based events or milestones, you can add Google Maps to provide a visual representation of the locations. You can embed a map directly into your presentation and customize it to highlight specific locations or routes.
Conclusion: Mastering the Art of Timeline Presentations with Google Slides
In conclusion, Google Slides is a versatile and user-friendly tool for creating timeline presentations. Its cost-effectiveness, ease of use, accessibility, collaborative features, and integration with other Google tools make it an ideal choice for individuals and organizations looking to create compelling and interactive timeline presentations. By following the tips and techniques outlined in this article, you can master the art of timeline presentations and unlock the full potential of Google Slides. So go ahead, experiment, and explore the possibilities of this powerful tool to create impactful timeline presentations that captivate your audience.